Casting On Vianne’s Underarms

My camera is currently out of commission, so this blog post is a bit later than planned and illustrated!

Under_Arm_CO1

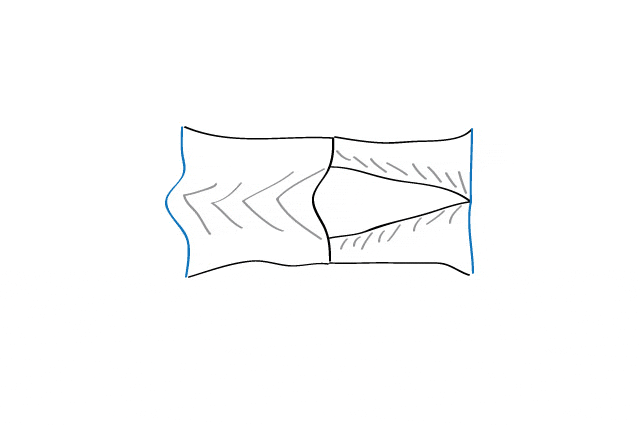
Before you cast on the underarm stitches, your cardigan doesn’t look a whole lot like a cardigan if you lay it out flat, but that’s going to change here. You’re going to knit across the left front, CO stitches, knit across the back, CO stitches, and then knit across the right front using all one ball of yarn. I tend to use the back loop cast-on method here because it adds the least bulk, but the knitted cast-on or cabled cast-on methods would both get the job done.

Under_Arm_CO3

That joins together all of the different sections, and you’re ready to knit down for the waist shaping. The waist shaping is pretty straight forward and always seems to go by faster than I expect.

Under_Arm_CO4

A note on the armholes, between the natural curl of stockinette and complete lack of structure there, your armholes are going to look pretty big at this point. If you’re matching the pattern gauge and the measurements on the schematic suit your taste, there’s no need to worry about how big they might look before the sleeve is added. I know they can be a bit worrisome looking if you’re new to set-in sleeves, but just trust the pattern and you’ll be fine.


Posted

in

by

Tags:

Comments

11 responses to “Casting On Vianne’s Underarms”

  1. I like the moving illustration. How did you do it?

    1. It’s an animated gif that I put together in Photoshop.

  2. Thanks for the comment on arm holes. I was a bit scared when I looked at them and measured them pre-casting on the sleeves. Almost done with the waist shaping, these rows take me awhile. I’m trying to knit faster.

  3. Love the illustrations!

  4. sageb

    Thanks for this explanation. I have one question about the underarm cast on. In the second row (WS), should the the number of stitches between Panel A and marker Z be the same as the number of stitches between marker W and the final Panel B? I’m making the 37 size, and it says 32 for the right front, but I only have 28 for the left front. Is that correct? Everything adds up to the correct total (163), but I just wanted to make sure. Thanks!!

    1. No, they should be the same. Do you have the most recent version of the pattern? An update went out regarding the marker placement.

      1. sageb

        Thanks for your reply! I have the version that is currently on Ravelry. I keep adding everything except the section between marker W and the final Panel B and getting 135. That leaves 28 remaining stitches. Am I making a mistake: 2+9+32+2+13+9+33+9+13+2+9+2=135?

  5. sageb

    Thanks for your reply! I have the version that is currently on Ravelry. I keep adding everything except the section between marker W and the final Panel B and getting 135. That leaves 28 remaining stitches. Am I making a mistake: 2+9+32+2+13+9+33+9+13+2+9+2=135?

    1. You should check your Ravelry library for the update, because what you wrote out doesn’t match the current version of the pattern. The correction is also listed a few places including the OAL thread, but you might have missed it.

      Row 2: P2, work Panel A, p22 (27, 31, 36, 41, 46, 50), pm Z, p1 (1, 2, 2, 1, 1, 2), pm Y, p7 (10, 12, 15, 22, 27, 31), work Panel B, p29 (29, 33, 33, 33, 33, 33), work Panel A, p7 (10, 12, 15, 22, 27, 31), pm X, p1 (1, 2, 2, 1, 1, 2), pm W, purl to next Panel B, work Panel B, p2.

      1. sageb

        OK, I see the update now. I thought it would be on the pattern page, but I had to look in my library. Thank you.

        1. Yeah, it’s a little counter-intuitive if you don’t use your library to access the pattern.

Leave a Reply to Katy Cancel reply

Your email address will not be published. Required fields are marked *

This site uses Akismet to reduce spam. Learn how your comment data is processed.