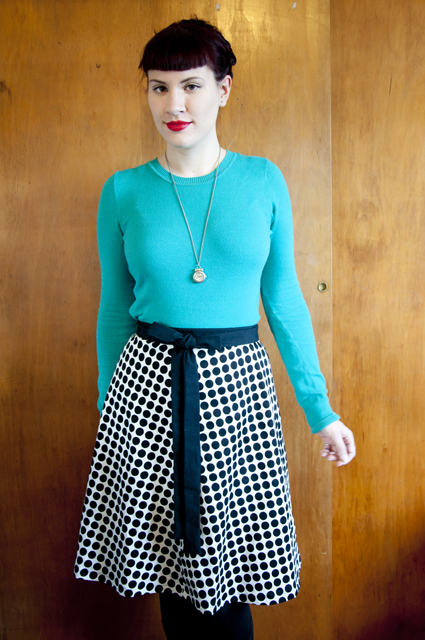
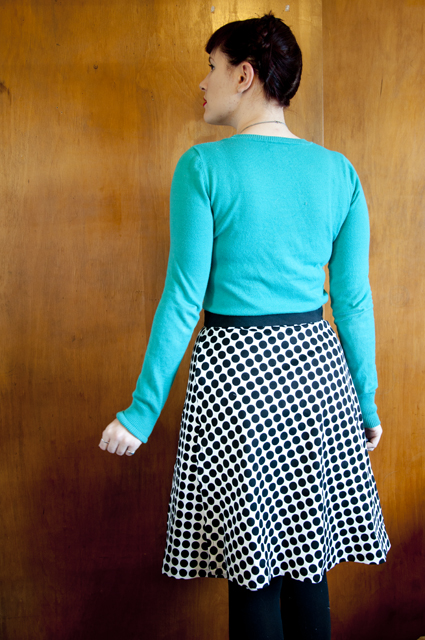
Way back in the summer, Tilly from Tilly and the Buttons asked me if I’d like to try out one of her print patterns. Naturally I had to choose her Miette wrap skirt because it shares a name with my Miette cardigan pattern. The sewing pattern came quickly, but I wasn’t so quick to get it sewn up. It seemed like the world just didn’t want me to make this skirt.
First I just had trouble finding time to sew. August and September are my busiest months because I have to rush to get everything ready for fall, and then once I did find sewing time, I had fabric choice issues. I had been planning on making my skirt in red cotton, but then I realized that I would rather use the red fabric I bought to make a replacement for my favorite red circle skirt. I also wasn’t sure if I’d like a solid colored skirt because it wouldn’t have as much waist definition as my usual belt + skirt combo. So I decided to do a two-color skirt with black at the waist and grey for the main pieces, but then I managed to convince myself that the color grey I chose would look too much like an apron, so it got shoved in the stash and I ran out to the fabric store once again. I picked out this black and white dot print to use in place of the grey, and I was happy to finally get started.
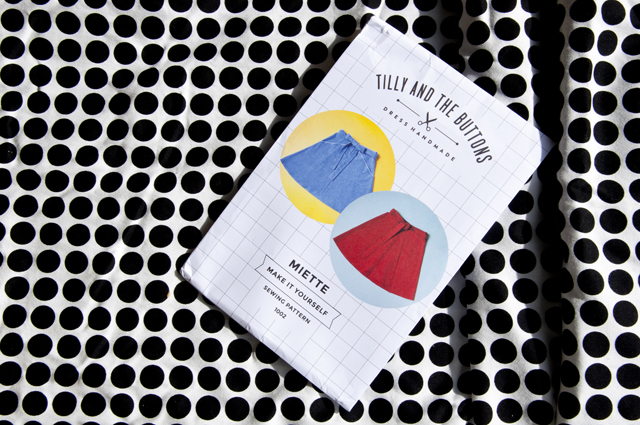
With my fabric picked out, it was time to lay it out and cut my pieces. That’s when I discovered that my fabric wasn’t printed on the grain. I spent some time trying to decide if I should give up on this project or go buy fabric for the fourth time. Neither option was very appealing, so I laid out the pattern pieces to see if I could somehow make the fabric I had work. I realized that although the dots weren’t on the grain, they also weren’t so off that it’d be totally obvious once I cut out the pieces. It’d just look like I didn’t match up the print very well, and I’m already not that great at lining things up. Not the end of the world. So I went with this fabric.
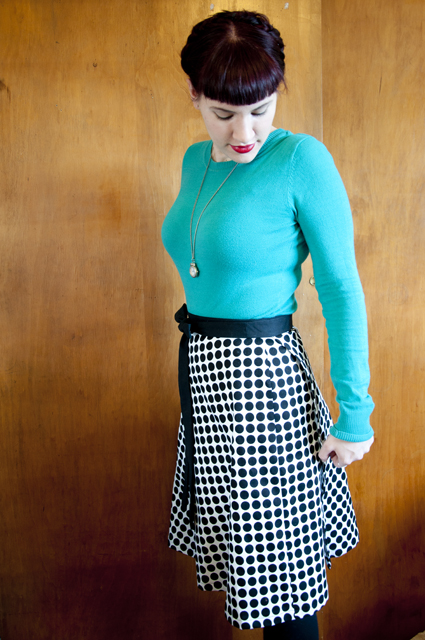
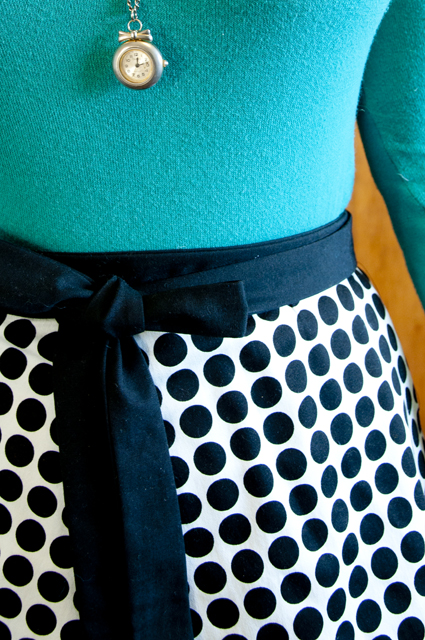
The end result is pretty cute. The darker waistband gives me that definition I like, and it also keeps the layers and ties from looking too bulky. If I made this again, the only thing I would change is the length of the waistband pieces for the back panels. The front waistband piece lines up nicely with the side seams, but the back waistband pieces are longer than the back panels so they extend off and act as part of the ties. That section is a little odd because the waistband pieces have interfacing the ties don’t, and it’s also not as clean of a line as I’d like because the seam doesn’t match up with the back panels.
The actual sewing part of this project was easy and straightforward. I managed to get my project done over two somewhat busy weekends. One of my goals for October was to sew every weekend because I have developed a significant pile of planned projects, and I’d like to break my habit of wasting my weekends on my computer. This skirt is one from the project pile, and it’s nice to have the skirt done. Hopefully I can keep it up!
Note: I received this pattern for free but all opinions are my own.
Leave a Reply