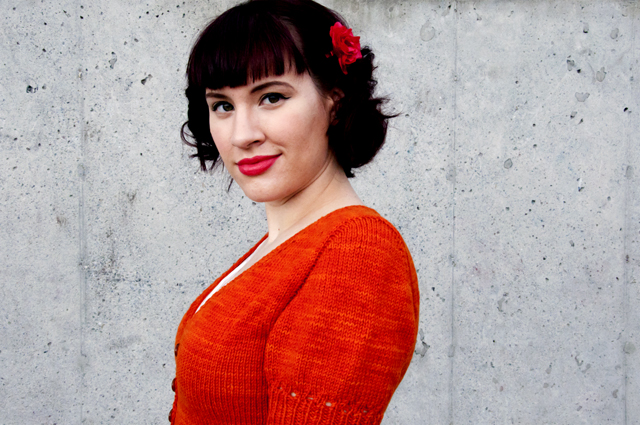
This is a post for knitters who love to be precise! Here are some of my best tips for even distribution when picking up stitches.
1. Break everything down into large basic sections to figure out how the stitches should be distributed.
Divide up the area to be picked up from into logical sections. For a sleeve there are three distinctive sections: the underarm, the front half, and the back half. The instructions for Myrna have us starting our pick up at the center of the underarm so that gets broken into two parts giving us four sections. The stitches need to be picked up evenly, so now it’s time to break them down. First we divide the number of stitches in half. Next we break out the stitches that are picked up from the half underarm section because they’re picked up from a horizontal edge so they’re picked up one for one. That leaves us with the number we need to evenly distribute up the vertical section of the first half of the pick up.
A button band on V-neck cardigan can be divided up the same manner. It also has three sections: the right front, the back neck, and the left front. Like, the sleeves, it should be divided in half so the stitches are distributed evenly, so the back neck gets divided into two halves. The back neck is also a horizontal edge, so we can subtract out those stitches and find the number we need to distribute evenly over the vertical edges.
2. Use the vertical sections to find the ideal pick-up rate.
When it comes to something like a button band, the exact number of stitches generally has some flexibility, so you can use your own pick-up rate based on stitches per inch over rows per inch reduced you the closest whole numbers, but for something like a sleeve, you need to match the pattern. To find the best pick-up rate for a vertical section, first add up all of the rows. If you don’t have the patience for that, measure the length and multiply it by the row gauge to get an approximate row count. Next divide the number of stitches that need to be picked up in a section by the number of rows in that section. Reduce down to get the pick-up ratio.
3.While picking up stitches on the first half, divide the larger sections into subsections to more easily mirror halves.
For example, for a v-neck cardigan, I typically divide the front vertical edge into three subsections: the ribbing, the straight section, and the neckline shaping. As stitches are picked up evenly from the edge as planned in part one, markers can be added to divide the section up into subsections or notes can be taken. When you go to pick up stitches on the opposite side, refer to your notes or markers so you have the exact same number of stitches in each subsection. This will make your button holes line up perfectly with the opposite side on a button band, and it will make for beautifully matched sleeves.
 x
x
Leave a Reply to Becca Cancel reply