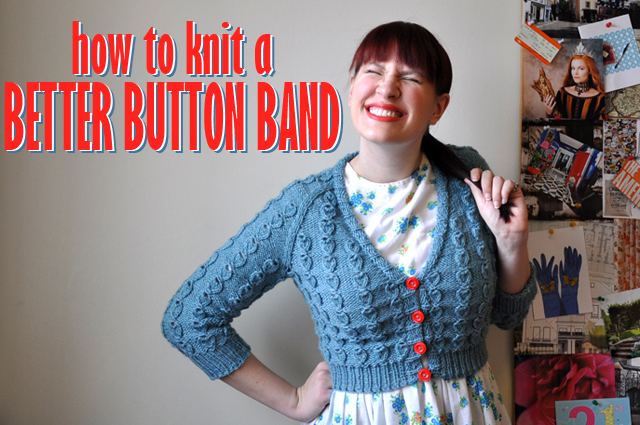
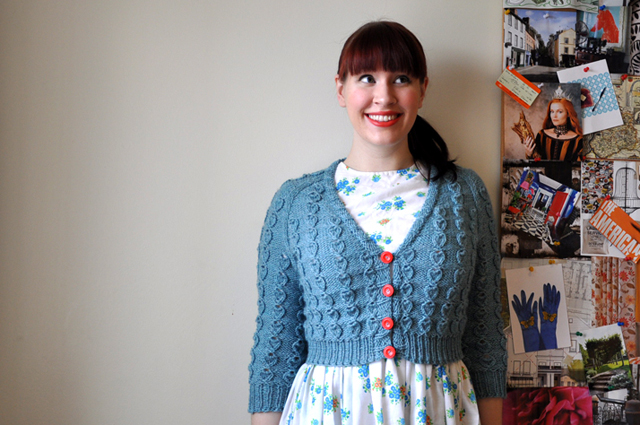
This was my favorite sweater to wear for quite a while, but it’s fallen out of favor now that I’ve expanded my sweater collection because it features the worst button band I’ve ever knit. It pulls the front of the sweater up, the buttonholes are stretched out of shape, and it gaps horribly. I made some of the biggest button band mistakes you can make, but that didn’t end up being so bad because I learned a lot from doing it all wrong. You have to look on the bright side, right? And now you can learn from my mistakes and avoid some frustration. Here are some of the tricks I’ve learned since I knit that sweater to make a better button band.
1. Pick up stitches according to your gauge.
A lot of people swear by a 2/3 ratio for picking up stitches, and a lot of people swear by a 3/4 ratio. So who is right? I’m going to say that neither is right. There is no ideal ratio that works for every project. The best thing to do is to find the perfect ratio for an individual project by using gauge. Take your edging’s stitch gauge (X) and your main stitch pattern’s row gauge (Y) and reduce them to the lowest whole numbers to get your ideal pick up rate. You’ll want to pick up X stitches every Y rows to get the best button band. Many times that will end up being 2 stitches every 3 rows or 3 stitches every 4 rows, but you might start to notice that it’s not always one or always the other.
2. Choose the right button hole.
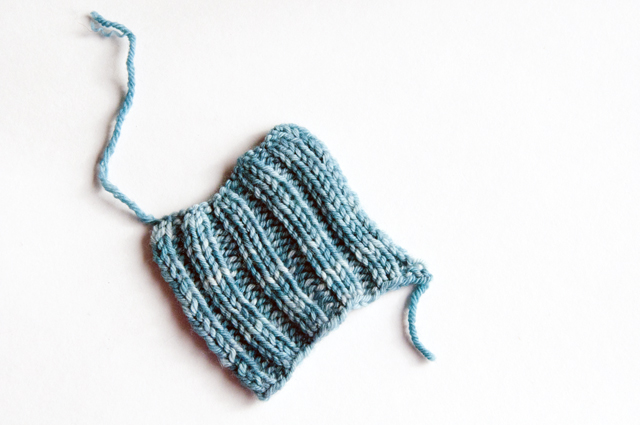
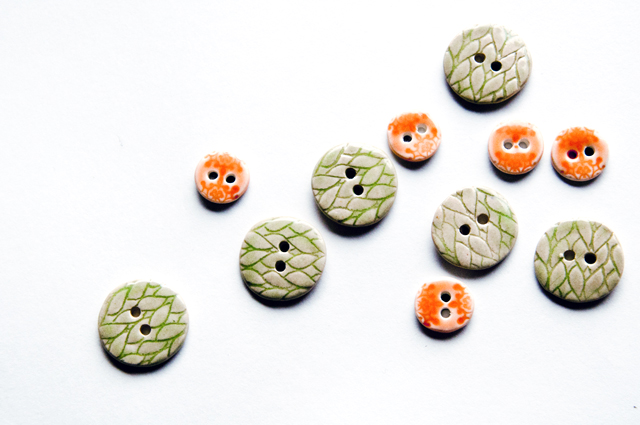
Not all button holes are created equally! I’m a big fan of YO button holes because they’re usually small and discreet, but they’re not very sturdy. YO button holes were a bad choice for my blue sweater because it was knit at a loose gauge. The button holes quickly stretched out of shape, so the sweater frequently becomes unbuttoned. A sturdier buttonhole like a one row button hole would have been a better choice, and it would have worked with these large buttons I ended up using.
3. Use enough button holes.
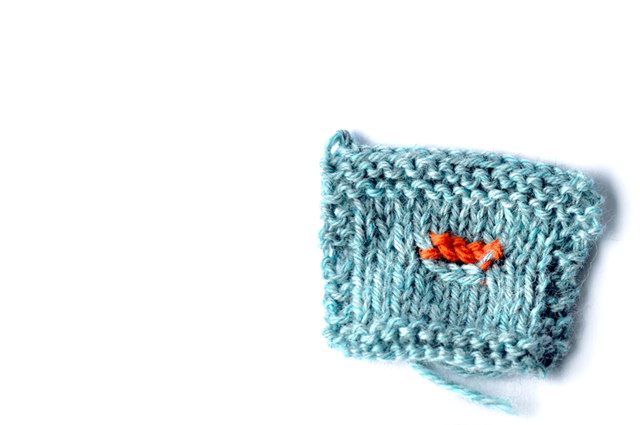
I love cardigans with negative ease, but they tend to gap at the button bands. The bigger the space in between your buttons, the bigger the gap can be. Using more buttons and placing them closer together limits how much your bands can pull open. If you’re knitting a cardigan with positive ease, this is less of an issue.
4. Offset your button holes.
Knits are naturally stretchy, and you need to plan around that to prevent your button band from looking like the button holes are right on the edge of the band. If adding a grosgrain backing to your finished project isn’t to your taste, don’t worry! You can work with the stretch by placing your button holes off center, closer the the edge you picked up stitches from. This way when your buttons pull forward, it will look like they’re actually centered on the band.

Leave a Reply