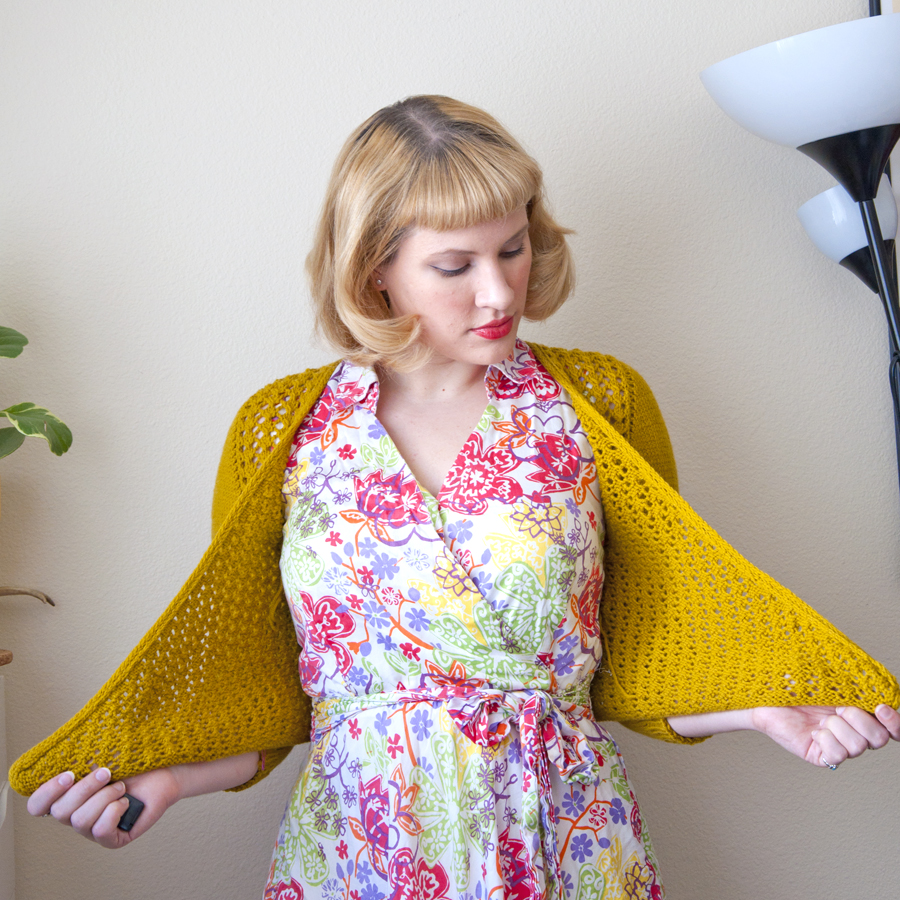
Anaheim has buttons on each side at the waist, and they need to be evenly placed or else one of fronts will end up baggy with the other one tight. It’s not a good look, and a little planning ahead can easily avoid it. You can lay the sweater out flat and mark each side, but for the best fit, I recommend trying it on for this.
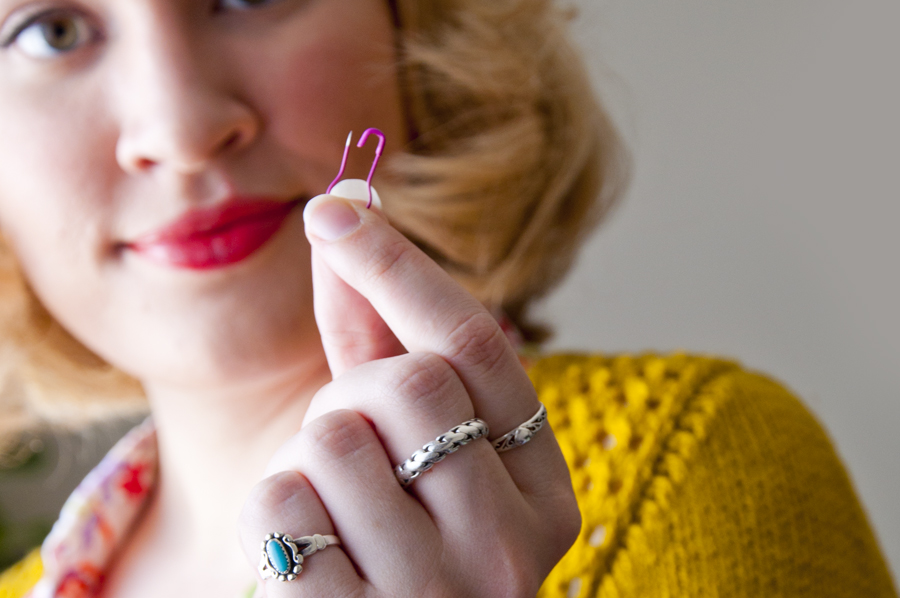
To mark the button placement, you’ll need two locking stitch markers. Paperclips and safety pins also work.
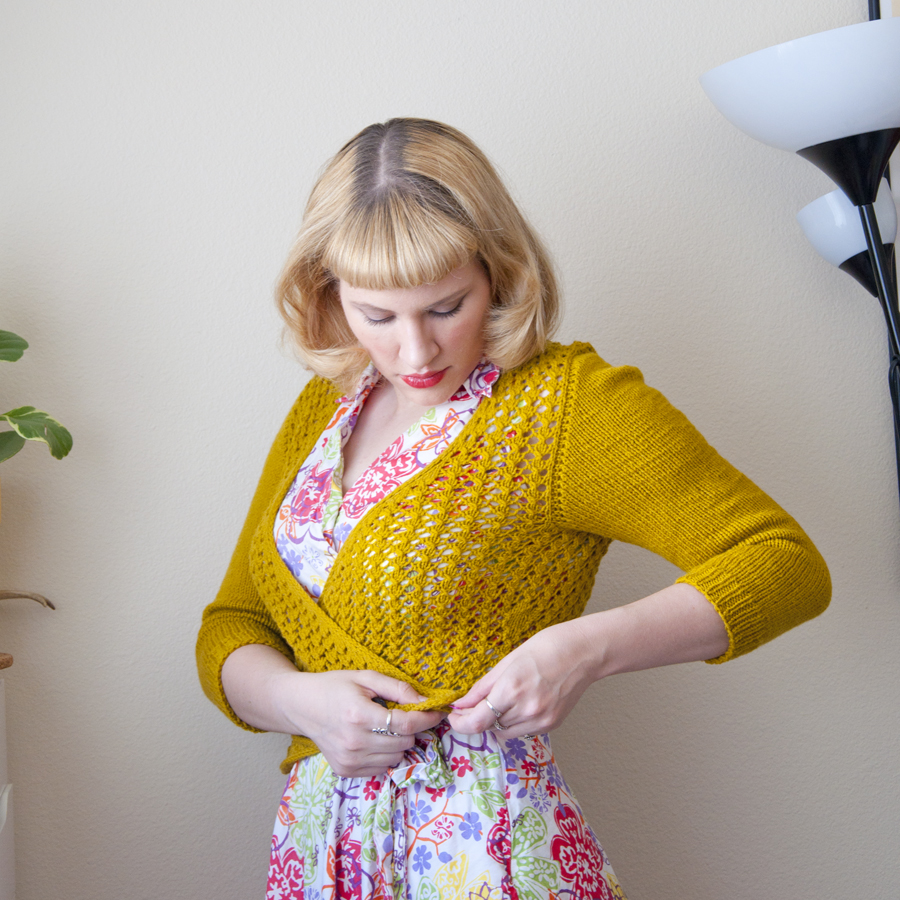
Cross left over right with the fronts pulled to the desires amount of ease. Find the buttonhole in the top layer, and then place the stitch marker around the i-cord directly below it on the lower layer.
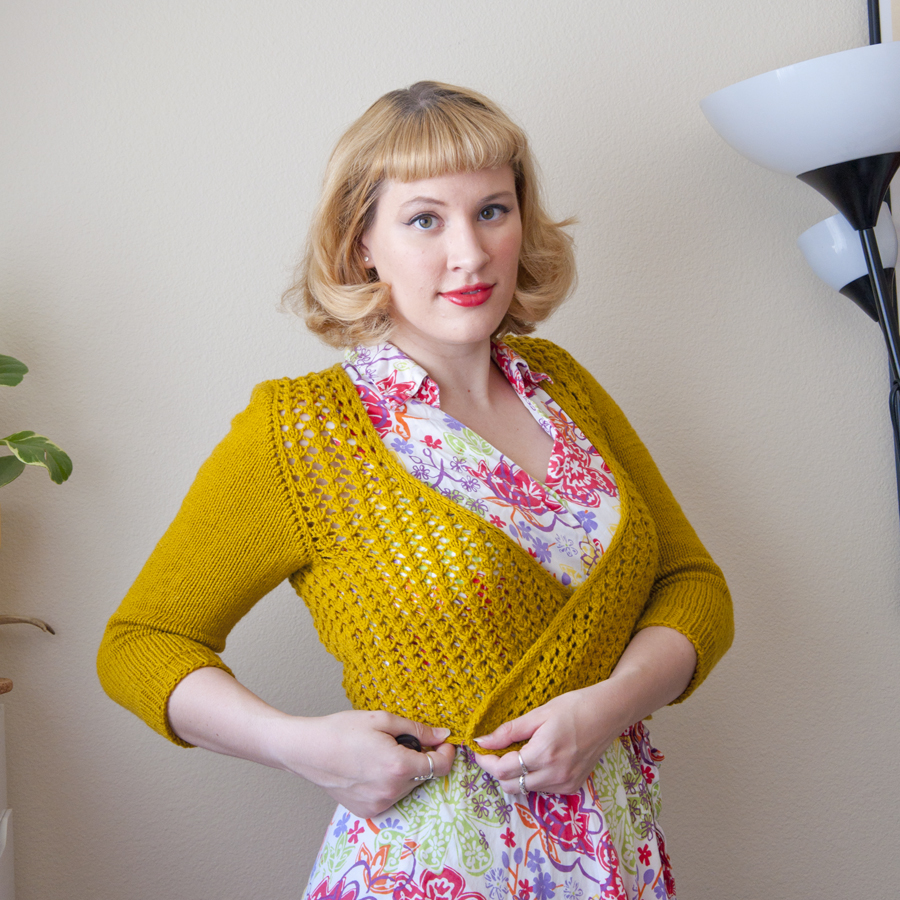
Cross right over left, and line up the lower layer’s buttonhole with the first marker so the fit is the same. Now find the buttonhole in the top layer, and then place the stitch marker around the i-cord directly below it on the lower layer.
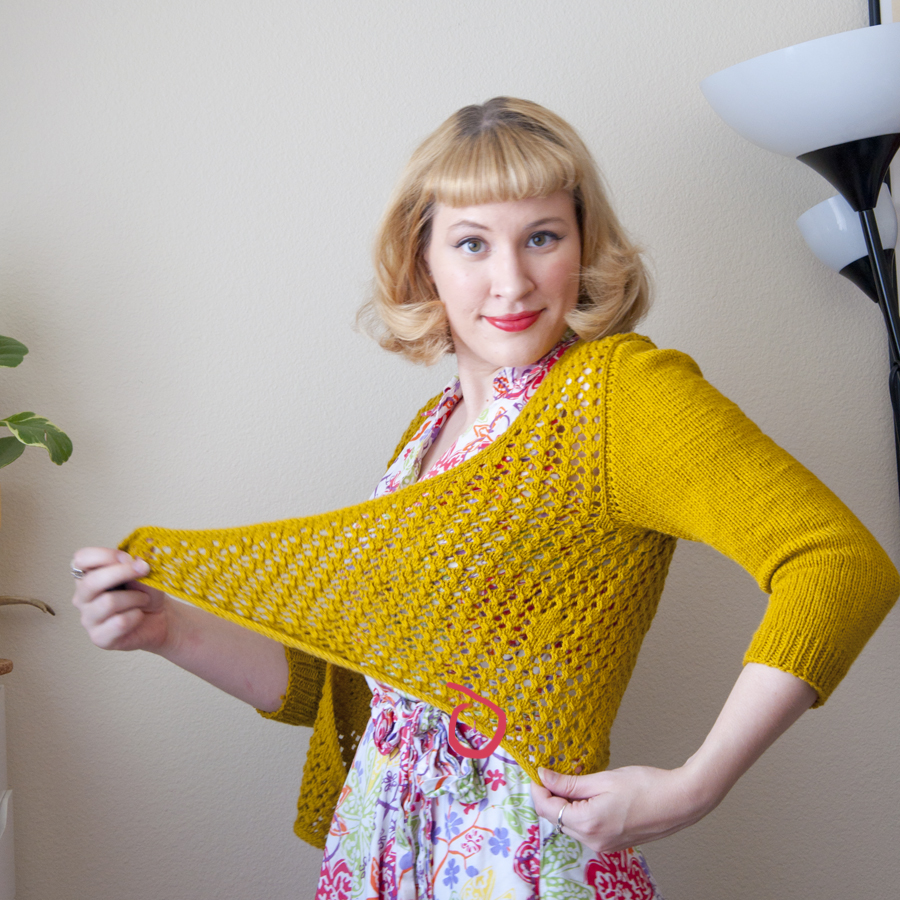
You should have a marker on each side to indicate where the buttons go. Place a button on the RS just above one marker, and place a button the WS just above the other marker. You can choose which front you’d like to be the final top layer by placing the RS button on the opposite side. The two fronts should be identical, so the button placement can be swapped according to your preference.

Leave a Reply