Before I got really good at “reading” my knitting, I was a devoted counting stitch marker user, and I’m constantly surprised by how few knitters are familiar with them. The concept is simple: markers get linked together, and as you pass them from one needle to the next, you move down the chain of markers. I learned about them many years ago from another knitting blogger who had gotten the idea from someone else, so please note that this is not my original idea, but I don’t know who to credit for it. I guess that’s knitting for you, right?
Counting stitch markers work best with relatively short stitch pattern repeats because you’ll want either one link per row or one link per RS row. (If your stitch pattern repeat is too long, it can make for an unruly chain.) For the former you would move down a link every time you slipped your markers, and for the latter you would move down a link every time you slipped your markers on the RS only. For the purpose of these instructions, we’re going to assume you have one link per row.
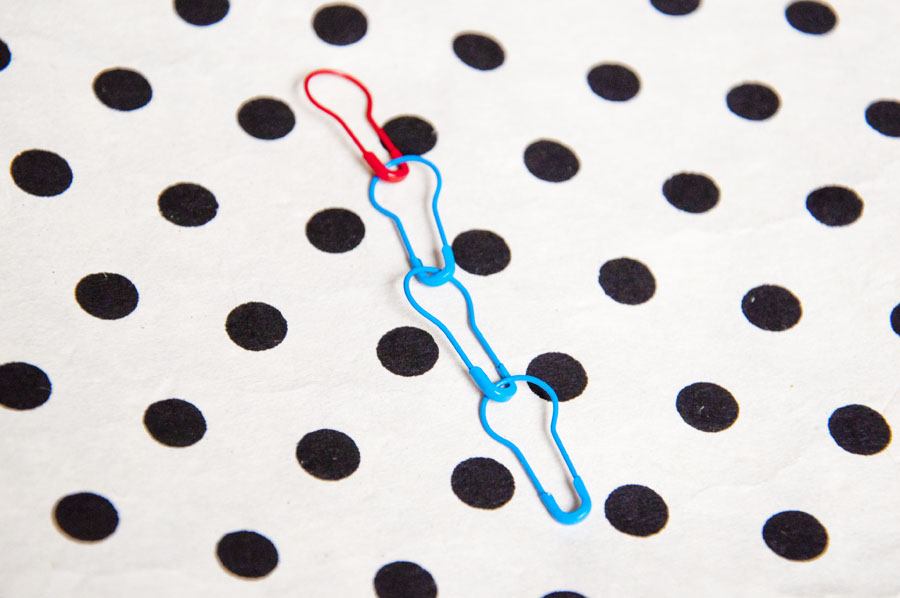
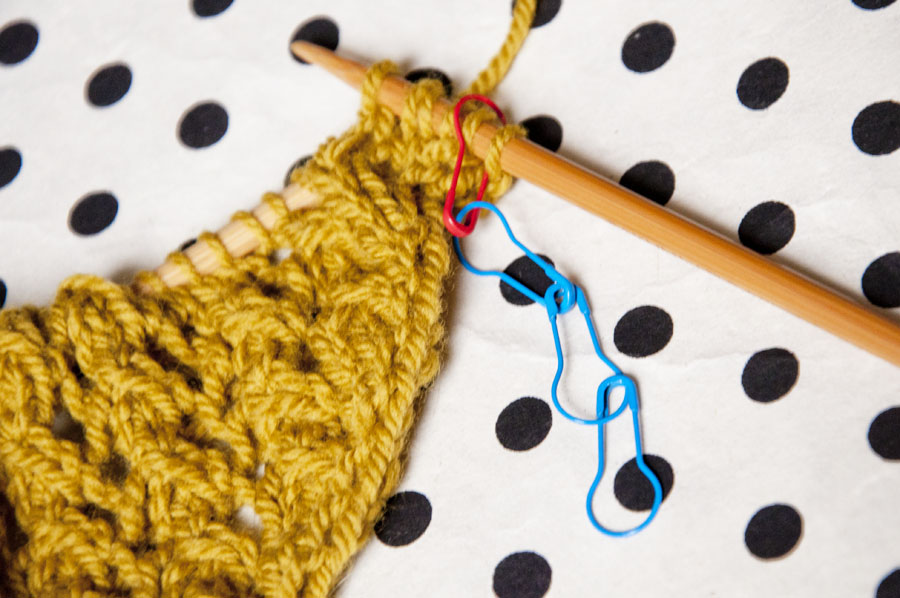
First, double check how many rows are in one vertical repeat of your stitch pattern and gather that many locking stitch markers (or paperclips — you can see paperclip version in this older blogpost on using office supplies in your knitting). You’ll want one of the stitch markers to be a different shape or color than the rest. This will be your Row 1 marker. Link the rest of the stitch markers below it in a chain.
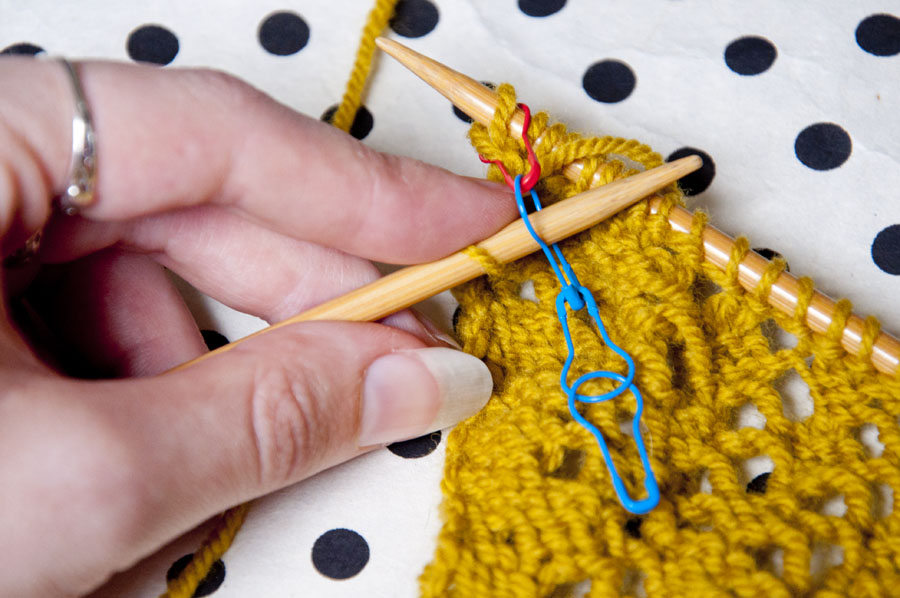
Place your counting stitch marker on your needles and within your knitting when you work Row 1 of your stitch pattern. You can put it in place of a regular stitch marker or between the selvage and first instance of the stitch pattern. You’ll want your needle to be through the special color or shaped marker first.

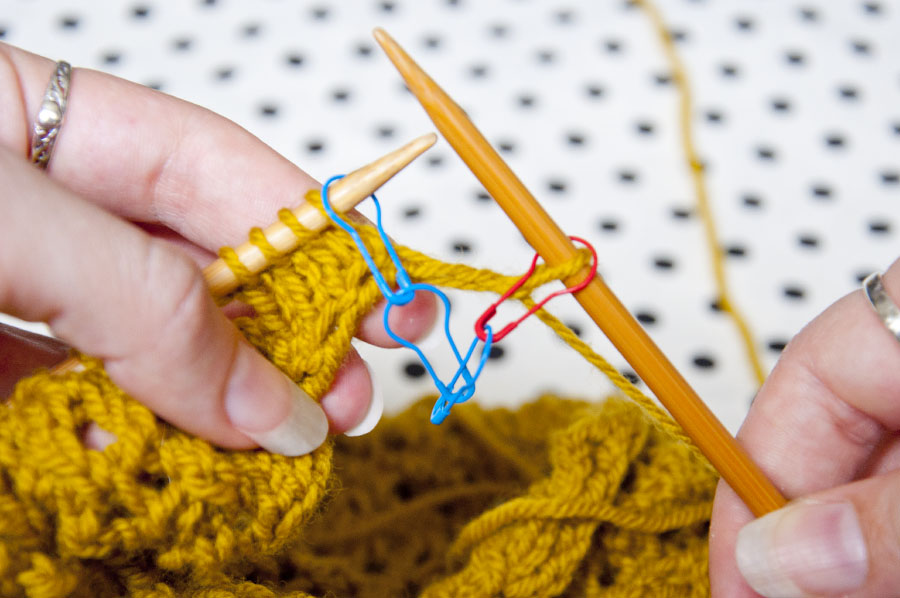
Work as usual until you reach your counting marker again. When you go to slip your marker, insert your knitting needle into the next marker down from the special marker. This indicates you’ve just knit Row 2 of you stitch pattern because you’re on the second marker down from the top. (If you were using one link per RS row, you would slip you marker like normal and move down to the second marker on the next row to let you know you’re on the second RS row.)
The next time you reach the marker, you’ll want to insert your needle into the next marker down. The third marker indicates the third row of the vertical repeat and so on. Continue to slip down the chain on every row. The special first marker becomes important as you move down the chain because it will indicate which direction to slip down from.
When you finish your repeat you will be on the last marker in the chain. Begin the next repeat with row one, and flip your chain over to the special first row marker. Keep working with the chain of markers as established, and you’ll always know what row you’re on!
Leave a Reply to Helen Cancel reply