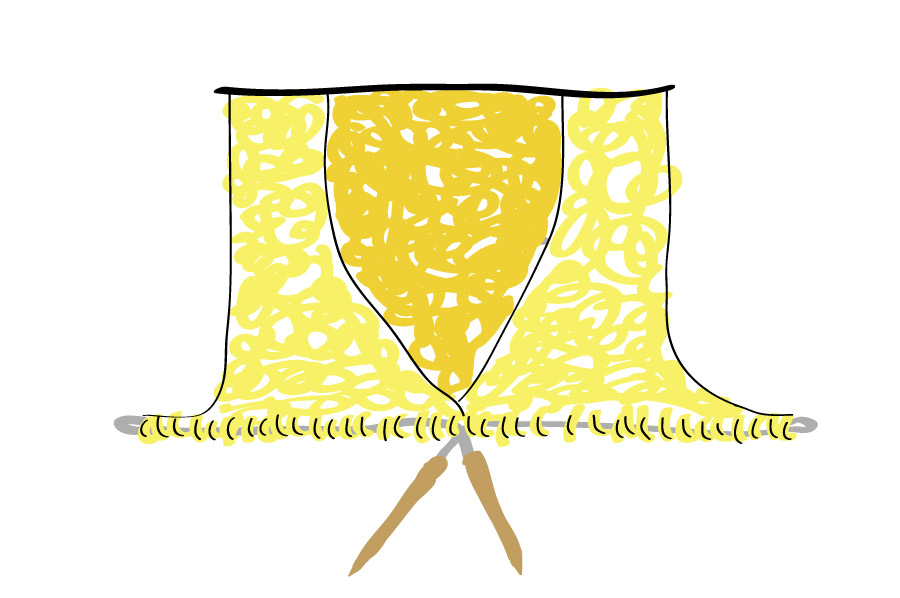
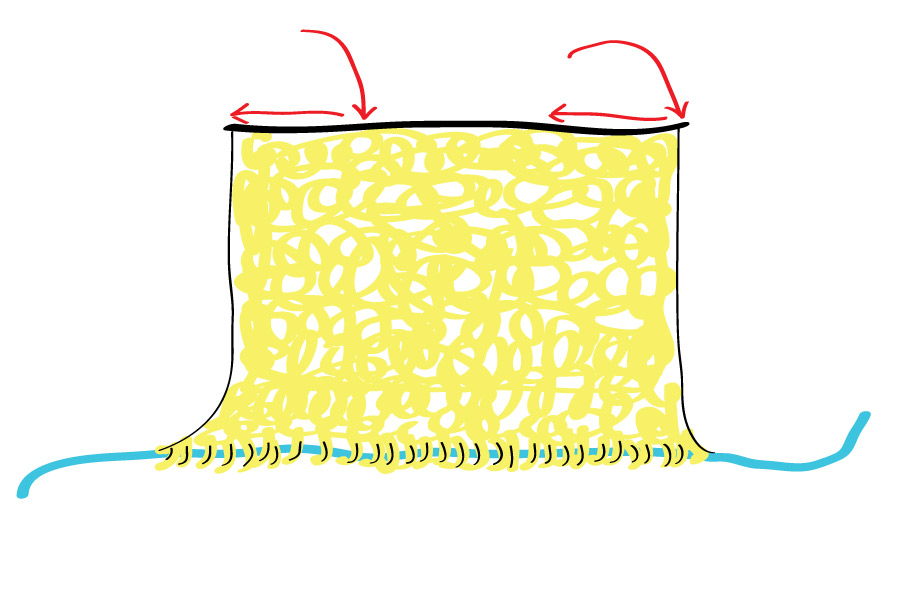
After you finish your upper back on a top-down sweater like Anaheim, you’ll slip your stitches onto holders, break your yarn, and get ready to start the fronts. You’ll join new yarn and pick up stitches along the cast-on edge with the RS facing for each front at the points illustrated below. Anaheim gives an approximate number of stitches from the initial CO to leave between the left and right front for the back neckline, but remember that it’s approximate and the most important thing is for your underarm edges to line up.
After you finish your fronts, your sweater-in-progress will look very strange with the various pieces on hold.
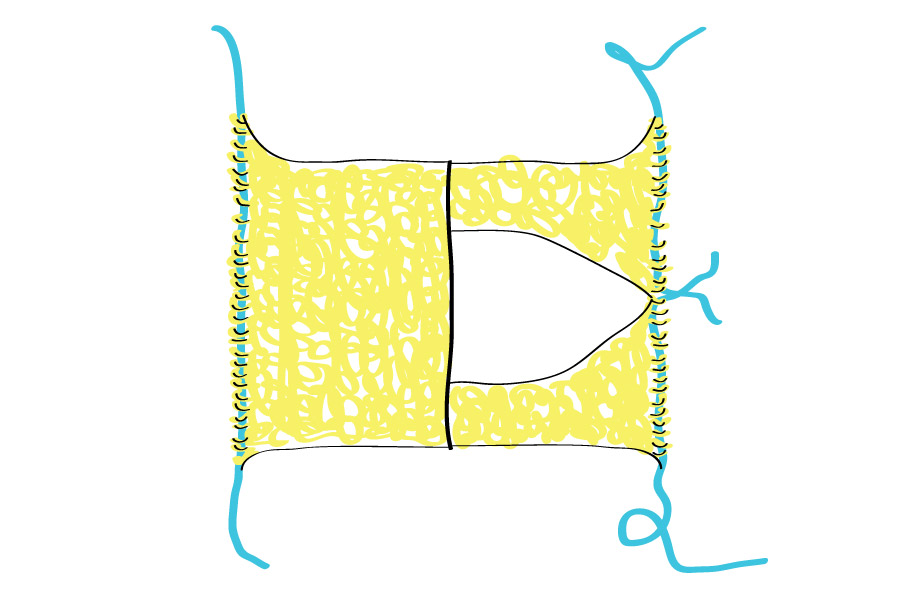
Fold the piece at the original cast-on edge, which acts as the shoulder “seam.” Join the fronts and back when the underarm stitches are cast on, and the oddly shaped thing you’re working on will magically start to look like a proper cardigan.

Your armholes might appear alarmingly large at this point. If your gauge is correct and the schematic measurements indicate that they’re the right depth for you, you don’t need to worry. The unfinished edges will curl in and make the hole look larger than it truly is. Once you add your sleeve caps, which will prevent the curl, the armholes will be much more reasonably sized. That said, if you’re having doubts and don’t trust your gauge swatch, place your whole sweater body on scrap yarn, wash and block it, measure it, and compare the measurements to the schematic to make sure you’re on target.
Leave a Reply