Is there anything as painful for a designer to read than declarations that a knitter didn’t make a swatch and check their gauge? “I always get gauge,” is almost just as cringe-worthy and indicates a fundamental misunderstanding about how a pattern’s gauge is determined. There’s no swatching conspiracy– designers ask knitters to do it because it sets them up best for a successful project, not because we delight in wasting your time.
Here’s where a pattern’s gauge comes from: A designer knits a responsibly large swatch on the needles of their choice, washes and blocks it, measures their personal gauge, and then bases all of the math used to calculate the pattern on their personal gauge. That’s it. The needle size the designer used is almost always the size listed in the pattern. If the designer knits a little tighter than you, they might use larger needles than you need. If they knit a little looser, they might use smaller ones. You just don’t know. There’s no directing board of pattern gauge who decides that all patterns knit at 4.5 stitches to the inch must be knit on US 8/5mm needles, not US 7/4.5mm needles or US 9/5.5 needles. You might be able to always match a specific designer’s gauge if you always use the same yarn and needle sizes as them, but that’s about it. “I always get gauge,” just means you haven’t knit a diverse number of designers’ patterns and/or gotten adventurous with yarn substitutions and needle brands. Some day you won’t get gauge, and it’s a lot less frustrating to knit swatches before you start than to re-knit an entire ill-fitting sweater.
So please knit a swatch. And please don’t tell the designer you didn’t because you always get gauge. And if you ignore this advice, please don’t blame the designer for your sweater being too big or too small.

Once you’ve embraced knitting swatches, there are a few things you need to do to knit a good one.
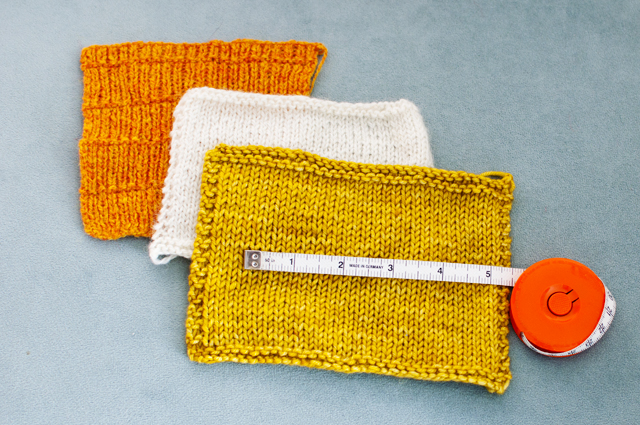
You should plan on making your swatch in the main stitch pattern that’s used for gauge in the pattern with at least a 5in/13cm square of that stitch pattern. To figure out how many to cast on, assume that you have the correct gauge. Pattern typically list gauge over 4in/10cm, so divide the stitches per in/cm by 4 or 10. Multiply the resulting number by 5/13 and add on 4-8 stitches for a non-rolling edging. That’s how many stitches you’ll need to get your swatch started. Work in the given stitch pattern with your non-rolling edging until you have a square.
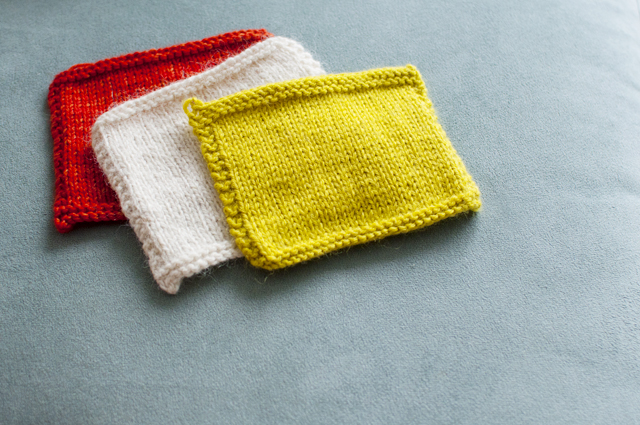
Wash and block your swatch like you plan on washing and blocking your finished item. You’re going to wash your sweater some day (I hope) so don’t skip this step. Some fibers are particularly rebellious when they meet water. Linen and silk have a tendency to relax and drape, which can change your stitches to rows ratio. Some wool and alpaca yarns will expand and get extra fluffy when washed. Superwash wool likes to stretch, and it can sometimes snap back if you throw it in the dryer, but not all superwash wools behaves the same way. To block your freshly washed swatch, you’ll want to treat it like you will treat your sweater. I never pin out my sweaters, so I don’t stretch and pin my swatches. I just lay them flat and reshape by nudging them into shape with my fingers on my drying rack. Washing and blocking takes time, but it’s best to find out what your knitting is going to do before you’ve committed to a needle size and spent weeks on your project.
Once your large, washed, blocked swatch is dry, the next step is the measure 3-4 4in/10cm squares within the 5in/13cm stitch pattern square of your swatch. Note down all of the different stitch and row counts, and then take the average. That’s your gauge! Does it match the pattern? If not, it’s time to knit more swatches. Here’s a list of things to try if your first attempt at matching gauge didn’t work out.

I understand that this is a frustrating piece of the process if you’re itching to start your sweater, but it’s an important step, and it’s not something that experienced sweater knitters skip. There are a few things you can do to make it less miserable, though.
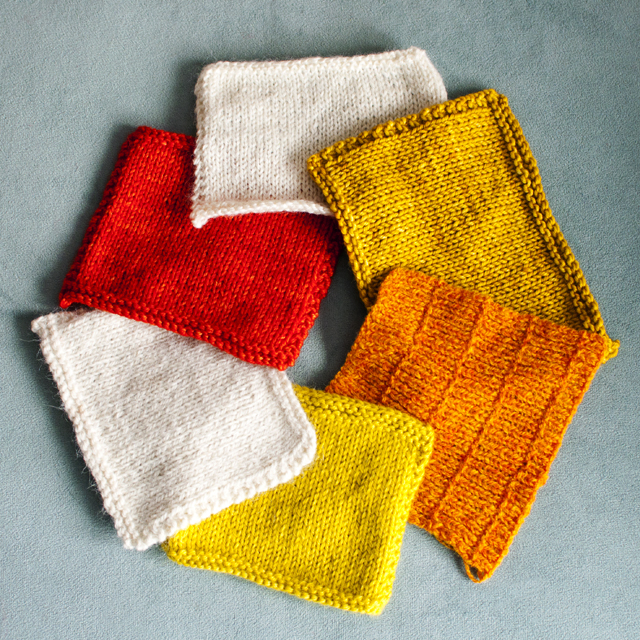
Think of swatches as a taste-test to try a new yarn, and knit some swatches before you ever have a project in mind. I’ll often pick up a single skein of an interesting yarn and knit a few swatches on different needle sizes. I keep track of my swatch and needle pairings with photos, but you can also use purl ridges in a bottom corner or knots in the yarn tail to indicate the US needle size. It’s a good, low-commitment way to try new yarns, and if you want to buy more to use for a project, there’s chance that you already have a swatch on hand to tell you if it will work or give you a jumping off point for needle sizes.
Related, knitting multiple swatches at once can spare you some frustration. Knit one in the suggested needle size, one above, and one below, and wash and block them all at the same time. When your knitting is dry, you’ll hopefully have a winner in the mix. And don’t forget that swatches are one of the best portable knitting projects out there. They’re fast, small, and simple, so they’re good for working on the bus or while chatting with friends.
Last but not least, don’t forget that finished projects are just really huge swatches. If you knit a different project in the same stitch pattern and yarn relatively recently, all you need to do is measure your project or check your Ravelry project page to find out your gauge.
In conclusion, please knit a swatch. Please check your gauge. Designers don’t beg knitters to do this because we like to waste your time. We ask you to do it because it will give you better results more consistently.
Leave a Reply