So you’ve done everything you can in Part 1, and you can only match the stitch gauge listed in the pattern. It’s not uncommon, and maybe you’ve heard that row gauge doesn’t really matter. Can I just say for the record that that is wrongity wrong? Row gauge matters. Row gauge matters a lot, and it gets used to calculate quite a bit in a sweater pattern, so you can’t just ignore it and have your sweater turn out right. But if you can only match row gauge or stitch gauge, it’s better to match the stitch gauge. Not because row gauge doesn’t matter (it does), but because row gauge is generally easier to adapt. You still need to do some easy math and make a few changes to the pattern. For simple patterns or extremely minor row gauge differences, you might be able to get away with knitting the straight sections of the pattern to length and leaving the shaping as is (and sometimes the math will work out so that’s all you need to do), but for complex patterns or more significant row gauge differences, this won’t give you consistently good results. I recommend always doing the math first instead of just crossing your fingers and hoping for the best.
The pattern needs to be broken up into sections based on rows in a more detailed way than what you’d normally see on a schematic. It can be helpful to draw out your own schematic as you work. Mark out the straight sections and shaped sections within the text of the pattern. Add up the number of rows in each of these sections and divide by the recommended row gauge. Note down the length measurements for these sections on your schematic. Next, multiply the length measurement by your own row gauge. That will give you the number of rows you need for each of these sections.

For shaping sections, divide the the number of your rows by the number of decrease or increase rows you need to work to get your new shaping rate. For example, a pattern might have you increase 4 stitches every 10 rows 6 times. If the pattern’s gauge is 18 rows over 4 inches, that section will be 13 ⅓ inches long. That length needs to be multiplied by your row gauge. Let’s say it’s 20 rows over 4 inches, so you would need to work about 67 rows. The increases still need to be evenly distributed, so you’d divide you number of rows by the number of increase sets to get your new rate. 67 / 6 = 11 with 1 row remaining. Your new rate would be to increase 4 stitches every 11 rows 6 times, and you’d need to squeeze in that leftover row somewhere. This will allow the shaping to happen in the same number of inches as the pattern originally intended. If you had skipped doing the math and just knit the shaping as originally written, your shaping section would have been over an inch too short and that can cause fit issues, even if you make up for the length difference by working more straight rows. Sometimes you’ll find that the shaping rate ends up the same because you have to round to whole numbers, but it’s better to do the math first than to just guess. Adjusting the shaping to match your gauge is crucial if you want your sweater to look and fit like the sample.
Next, if there are short rows, those also have to be adjusted. Like for the shaping and straight rows, add up the number of short rows and divide by the recommended row gauge to get the length measurement. Multiply that measurement by your own row gauge to get the number of short rows listed. Because short rows are based on both the row and stitch gauge, you’ll now have to adjust the short row rate so that they’re the correct width even though you’re now knitting a different number of rows. Take the original number of short rows and multiply it by the short row wrap rate. Divide that by the number of short rows you need to work with your gauge and that will give you your short row rate. This won’t always work out nicely, so just do the best you can to make it work.

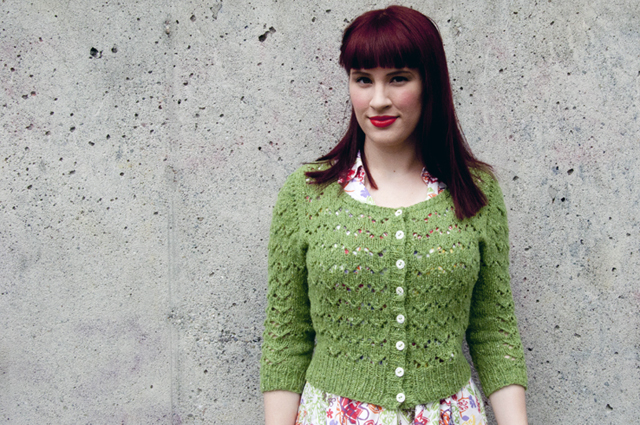
Last but not least, you need to figure out how to make your new row gauge work with any motifs or stitch patterns in the pattern. For a sweater like Hetty, it’s easy enough to add or subtract repeats of a stitch pattern, but for a sweater like Chuck, it’s a bit more challenging because the main cable motif is so large. You may have to get creative here.
And don’t forget that changing your gauge will change how much yarn you use up. Always buy extra yarn to be on the safe side.
Leave a Reply to Cherry Darling Cancel reply