How to make a Halloween themed tin can lantern

bats1

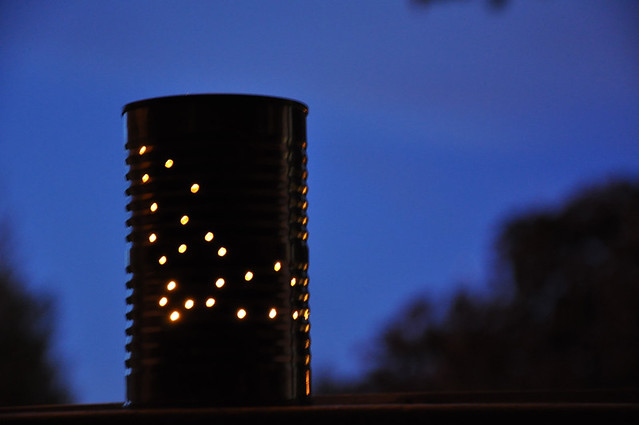
I wanted to share this little tutorial on how I made my bat lantern from this post. It’s nice because it’s a bit like a jack-o’-lantern, but it’s never going to rot, smell weird, and/or attract fruit flies. I’ve attached the template I made for mine, but you really can make any shape or pattern you can imagine.

bats2

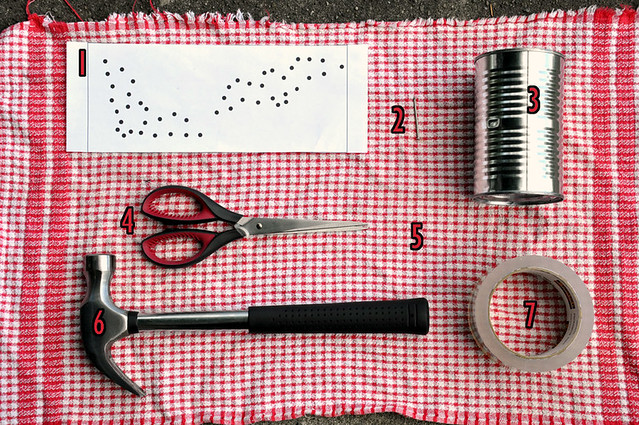
You will need…
1. The template.
2. A sharp nail. The bigger the nail the bigger the holes.
3. A clean tin can. The template is made for a 4.5 inch tall can.
4. Scissors.
5. An old rag. You really only need this if you’re working on cement. It helps keep your can from getting scratched up.
6. A hammer.
7. Tape.

bats3

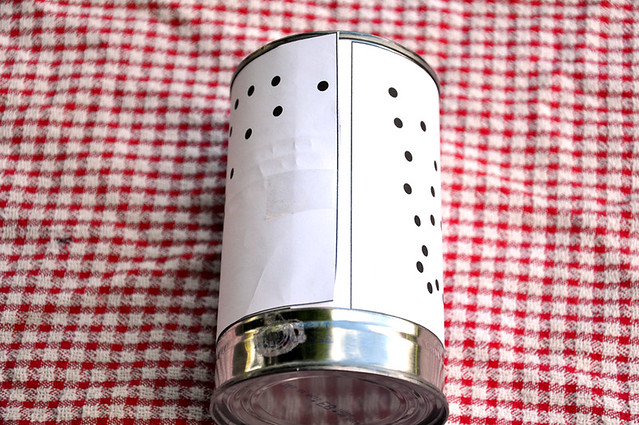
Cut out your template with the scissors and tape it around the can. Be careful to not tape over the dots.

bats4

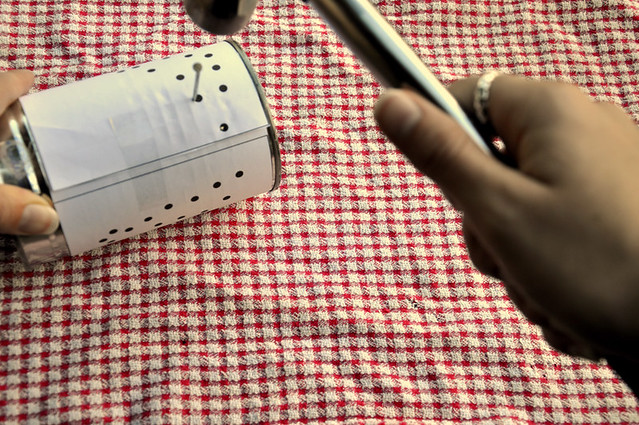
With the can flat on a hard surface (I was working on my front steps), hammer the nail into the side of the can, going through a dot on the template. When the widest part of the nail passes through the side of the can, pull the nail out and move on to the next dot. Work around the can until you’ve made a hole through each dot.

bats5

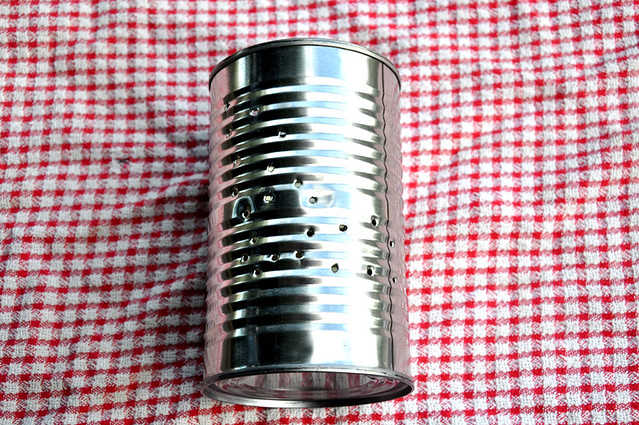
Remove the template and hammer around the edges of the can lightly if it has become misshapen. It doesn’t look like much right now, but wait until dark.

bats6

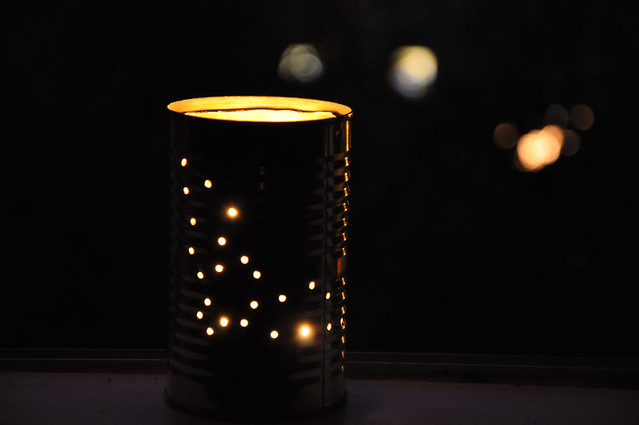
Carefully place a tea light or a short candle in the can. The can will be full of sharp edges so be careful! Light the candle with a long match or a long wand lighter.

Posted

in

,

by

Tags:

Comments

10 responses to “How to make a Halloween themed tin can lantern”

  1. So simple!

    It’s the lack of fruit flies that give the tin can lantern a leg over on jack-o-lanterns, really. Oh, and the fact that you’re less likely to cut your own fingers off with a sharp tool. Hammer nails into them, maybe, but they’d still be attached.

    (Sorry, it’s almost Halloween. It brings out my slightly morbid and sarcastic sense of humour ;))

  2. That template idea is so clever. Knowing myself, I would have just started hammering and hoped for the best.

  3. Oh that is so precious!! Thank you for sharing!

  4. What a great idea!

  5. Jenn

    Is it safe to paint the outside of the can? In the final photo, the can looks as if it is painted black but I see it only looks that way because it is dark.

    1. Andi

      I haven’t played with paint much, but I’m guessing it would be safe because the outside of the can doesn’t heat up too much if you’re using a small candle. I would paint it after making the holes to avoid chipping the paint.

  6. Robin

    I’ve done this with star designs for Christmas, only I fill them with water & freeze to prevent the can from denting when punching the holes. Even the “no stencil/hope for the best” comes out pretty.

    1. That works, but you have to hammer harder to get the nail to punch through both the can and the ice so you have a nice hole.

  7. Namma

    Why don’t you allow pins?

    1. I don’t like Pinterest’s TOS. They say that you’re only allowed to pin photos that belong to you or that you have gotten permission to pin from the copyright holder, because by pinning a photo, you’re agreeing to give Pinterest the rights to the photo. I don’t trust a company that actively encourages its users to violate their TOS to not misuse my photos so I don’t want other people giving away my rights to them.

Leave a Reply

Your email address will not be published. Required fields are marked *

This site uses Akismet to reduce spam. Learn how your comment data is processed.