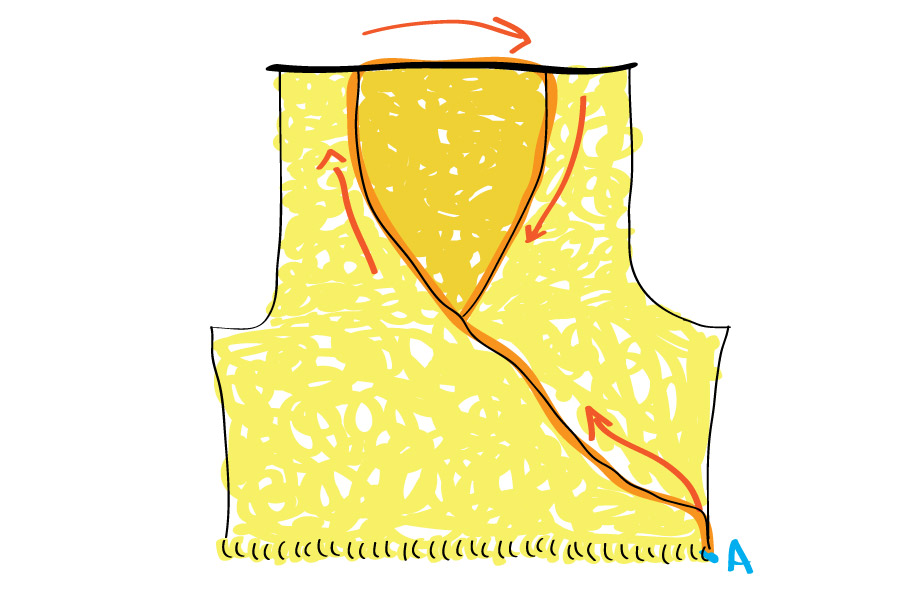
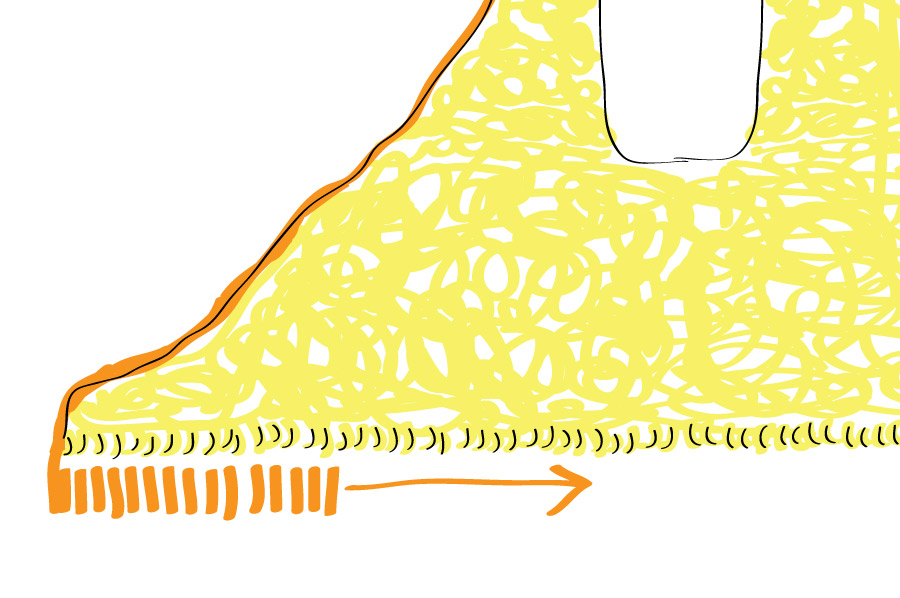
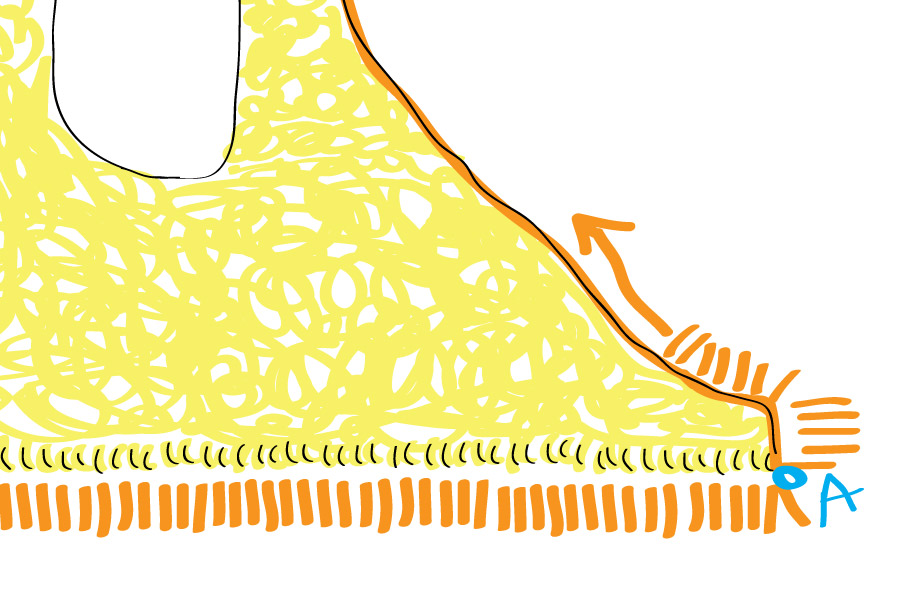
If you’re knitting Anaheim without tie modifications, the i-cord is worked all the way around the opening, and it can be challenging to visualize from the instructions because the pattern has you picking up stitches, joining in the round, and then knitting a bunch of odd, itty bitty rows. The pattern photos show the end result, but here are some rough illustrations showing how you get there.

First, with your bottom edges still on the needles and yarn still attached, you’re going to place marker A, and then pickup stitches around the cardigan opening according to the listed ratio. You don’t have to be super precise in your stitch count; an extra stitch or one less here and there won’t hurt you. When you’ve finished picking up stitches, you’re going to end next to the bottom edge, and the instructions have you join in the round and CO three stitches by working with the first stitch after you join in the round.

Across the bottom edge, the i-cord edging perpendicular to the live stitches. It’s made up of a bunch of tiny rows that are joined to the live stitches via decreases, and this acts as the bind off for the bottom. The instructions here are to repeat the i-cord edging to market A, which is all the way across the bottom edge.

After that, the i-cord transitions to being worked perpendicular to the picked up stitches but parallel to the body rows, and we get into i-cord buttonhole territory, which involves knitting a few rounds of plain i-cord and then slipping the picked-up stitches and passing them over each other to bind off. The i-cord then gets joined back with the picked up stitches when you resume i-cord edging. The i-cord edging is worked around the cardigan opening until the next buttonhole on the opposite side. After the next button hole, there were be a couple more rows of edging, and then you’re done! You’ll need to attach the end of the i-cord to the stitches cast on for it, which can be done while weaving in your ends.

Leave a Reply